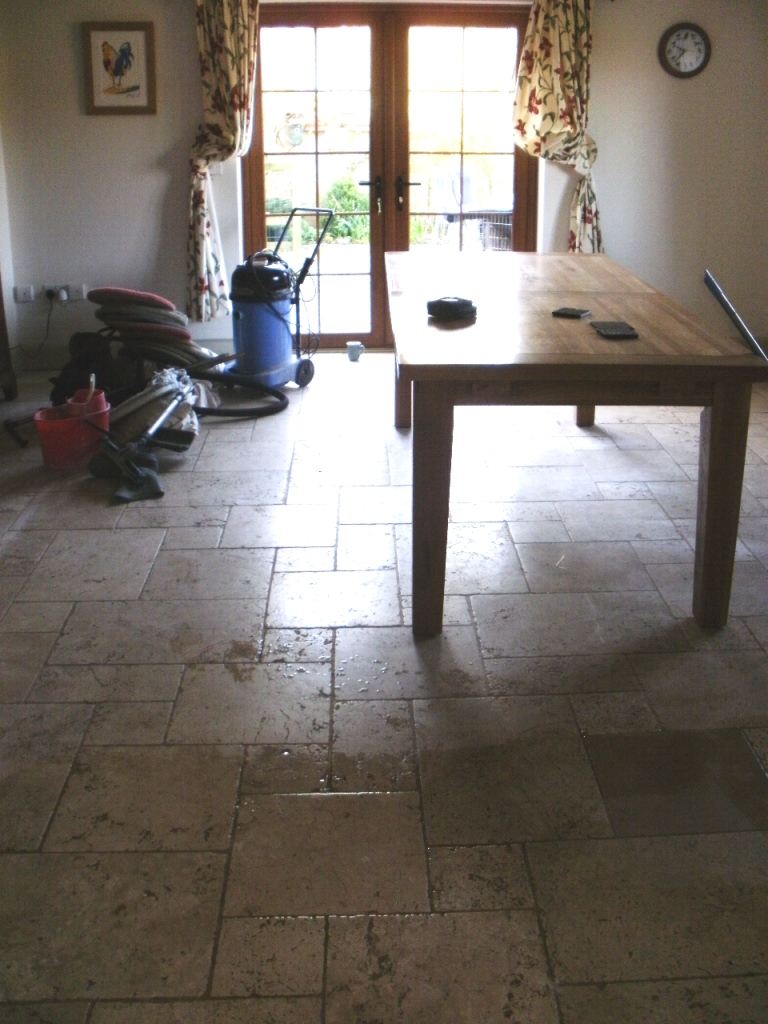
This 50m2 Tumbled Marble tiled floor in Dewlish, near Dorchester had not been deep cleaned and re-sealed for at least five years and showed signs of the normal wear and tear associated with a busy kitchen/dining room and a dog that enjoyed muddy walks. The old sealer was now breaking down allowing dirt to become ingrained in the Marble making it difficult to clean.

Stripping a Tumbled Marble Floor
To restore the surface finish it needed to be burnished using a set of diamond encrusted burnishing pads. The pads come in a number of different grades from coarse (used to strip off sealers and dirt from the Marble) too very fine (used for final polishing) and are applied one after another starting with the coarse pad and moving through to the very fine pad towards the end. Each stage requires a little water which captures the soil and is rinsed away and removed with a wet vacuum. This process completely removed the old sealer and surfaces scratches with a new shine. The floor was given a thorough wash down at this point again using a wet vacuum to remove as much water as possible from the surface before leaving it to dry for the evening.
Sealing Tumbled-Marble Tiles
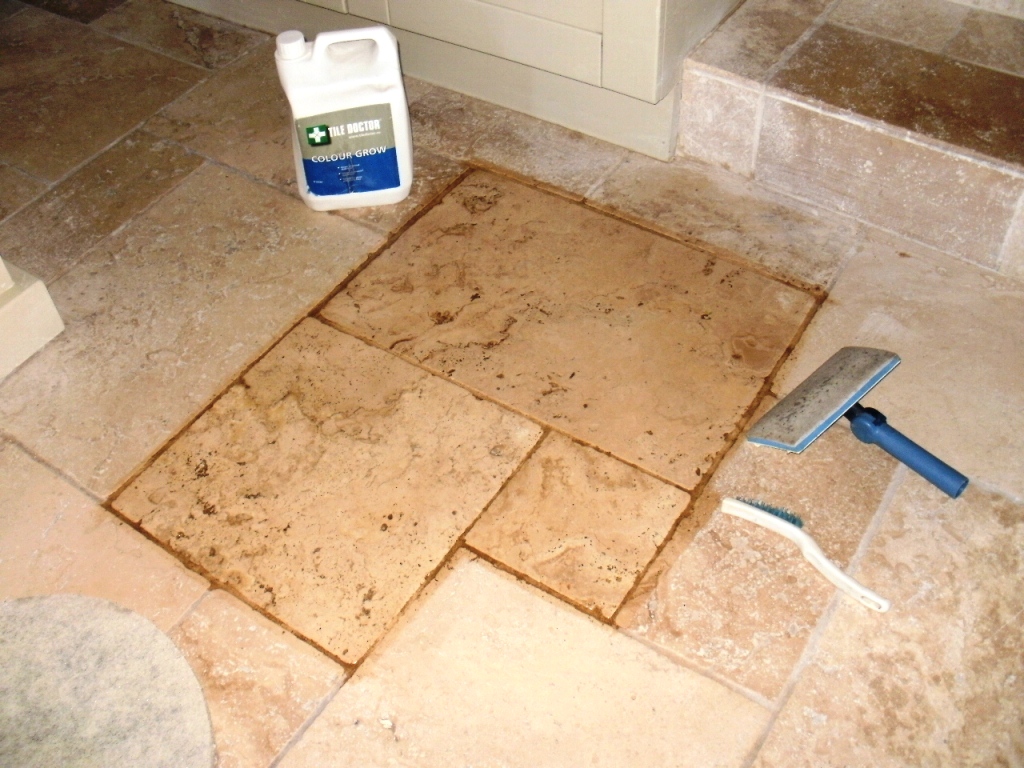
The next day the Marble had dried and I started to seal the tiles using two coats of Tile Doctor Colour Grow sealer which was first applied to a couple of test tiles first to ensure it gave the effect the customer was looking for.

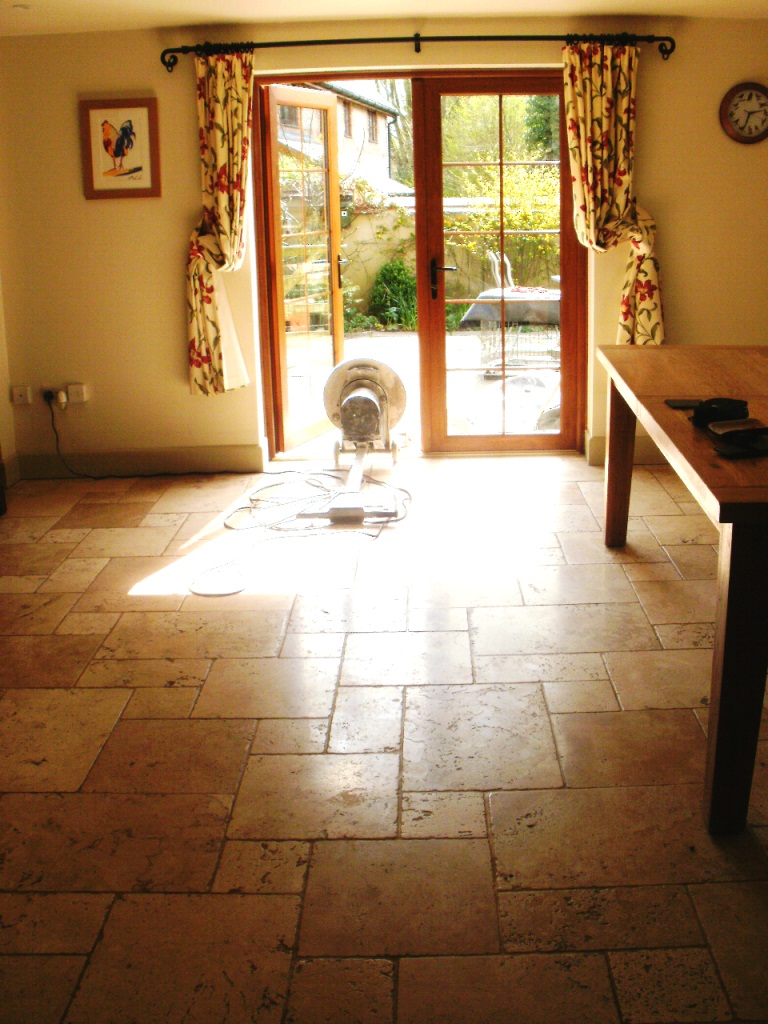
Colour Grow is a colour enhancing sealer that brings out the natural colour of the tile and certainly the customer was pleased with the results so the sealing work continues until the whole 50m2 floor had been sealed with two coats.

When the whole fifty square metres of floor had been sealed using Colour Grow the effect was dramatic and the owners were so pleased with the result that they invited over a friend with a similar stone floor who immediately asked for her floor to be done in the same way.
Source: Cleaning Tumbled Marble in Dorset
There are so many sealers to choose from with different effects it makes sense to seal a test area to see how it’s going to look before doing the whole floor.